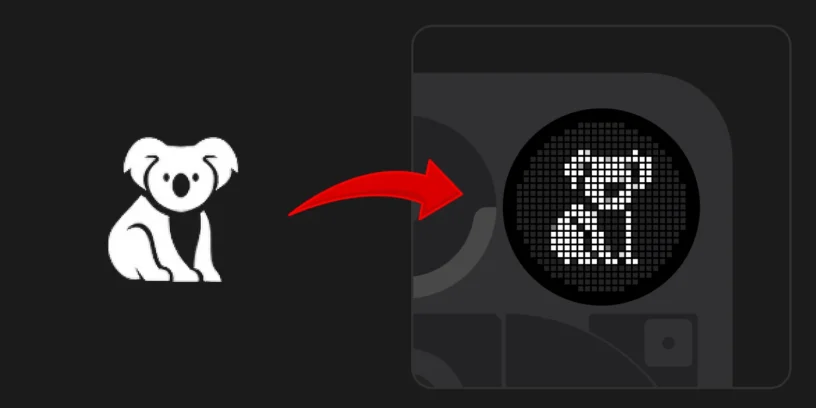
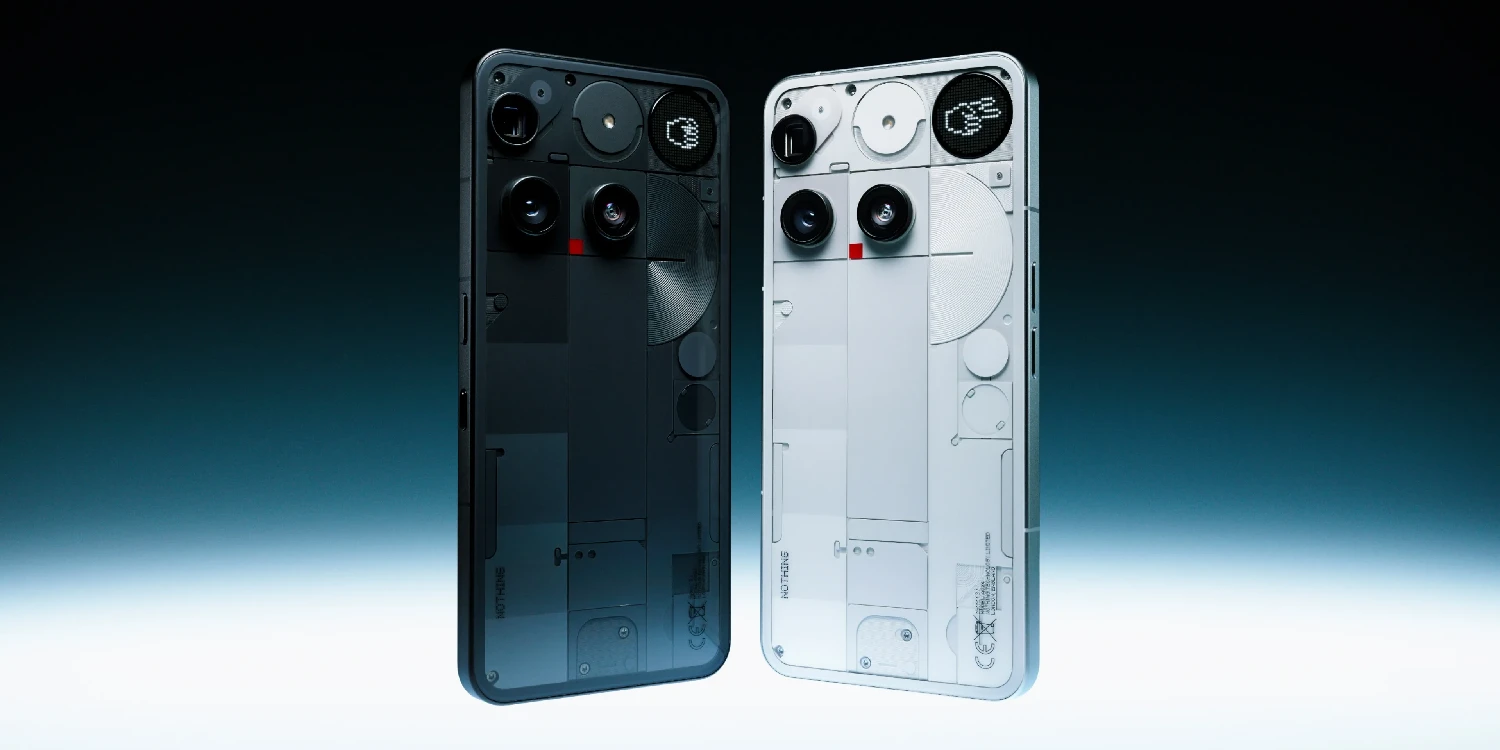
The new Glyph Matrix of the Nothing Phone (3) This opens the door to highly original customization, allowing us to use simple icons as visual notifications on the back of the device. But for them to work properly, it's important to prepare the images correctly.
Here I explain how to do it step by step, even if you don't have much experience editing images.
Choose a suitable image: minimalist and with a black background
Glyph Matrix has a circular resolution of only 24 pixels in diameter, So not just any image will do. The simpler the icon, it will look better on the back of the mobile phone.
- Look for emoji-style icons, symbols, or drawings with few details.
- Black background required, because the system interprets black as transparency.
- If you find an image with a white background and a black drawing, reverse the colors so that it looks good (I'll explain how below).
- Avoid shadows, gradients, or fine details. If in doubt, ask yourself: would this be understandable in miniature?
Prepare the image with a photo editor.
To prepare the file, you don't need to install anything complicated. I recommend using Photopea, a free online editor that works very similarly to Photoshop, although you can use any that contains the basic editing options.
Here are the steps:
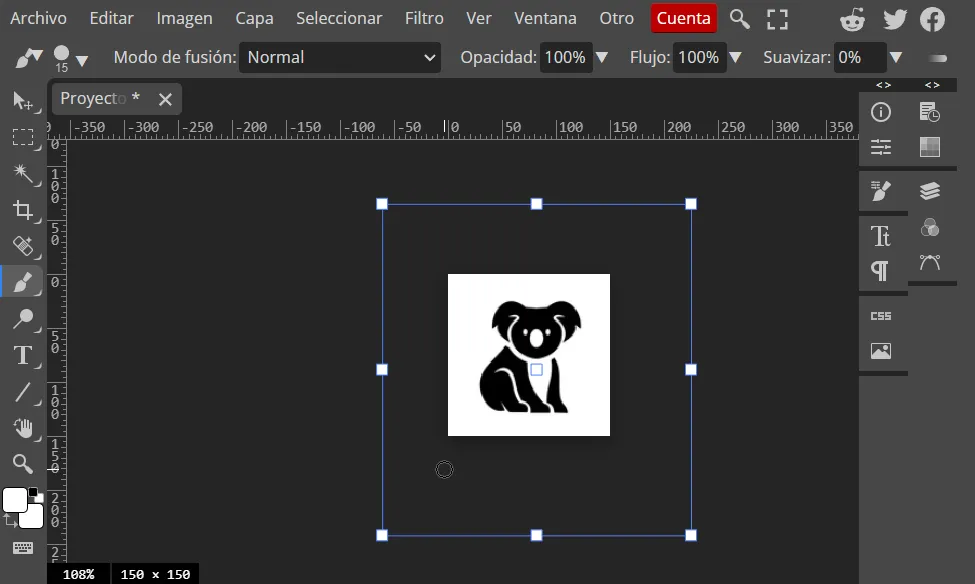
- Enter photopea.com from the browser.
- Press «"File > New"» and choose a size of 150×150 pixels.
- Drag or copy your image onto the canvas.
- If the background is not black, use «"Image > Settings > Invert"» to invert the colors.
- Adjust the icon to the center, leaving a little bit of space. margin at the edges (avoid touching the ends).
- When you're happy with the result, go to «"File > Export as > PNG"» and save the image to your mobile phone.
Upload the image to the Nothing Phone (3) and use it as an icon
Once you have your PNG ready, it's time to use it in the Glyph Matrix. To do this:
- Go to Settings > Glyph Interface > Essential Notifications.
- Create a new rule.
- Click on «"Select icon"» and then in «"Custom icon"».
- Find your PNG image, upload it, and adjust the contrast to your liking.
(Updated 20/07/25) Easy alternative: online editor for Glyph Matrix
If you'd rather not deal with photo editors or simply want to try something more straightforward, pauwma has created an online editor specifically for Glyph Matrix.
This editor lets you design minimalist icons compatible with the Nothing Phone (3), directly from your browser. It has several tools to adjust the image, simulate how it will look, and export it already optimized. Amazing!
🔗 Access the editor for Glyph Matrix here
💡 Ideal if you want to try out quick designs without touching files or learn how to use Photopea.
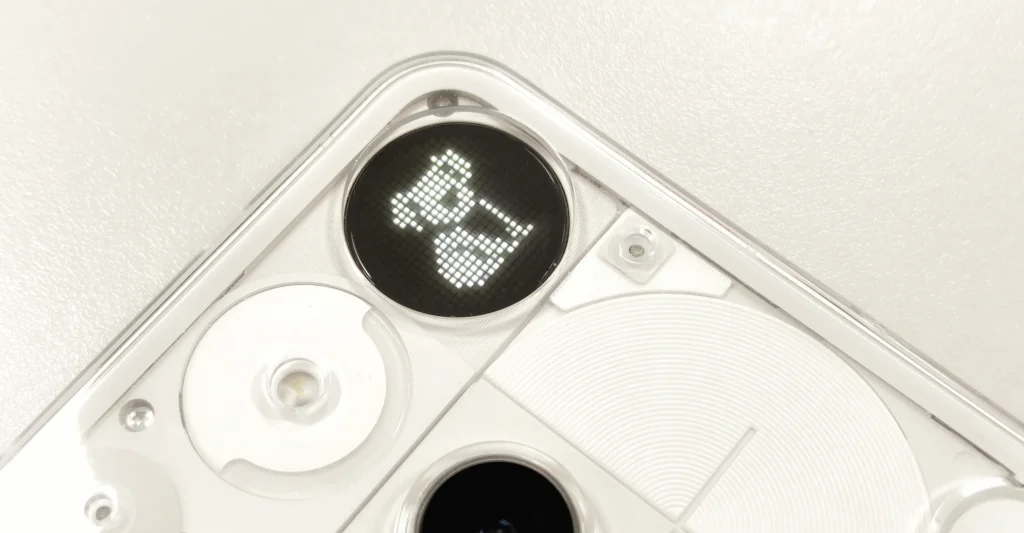
And that's it! Now, every time that notification arrives, the Glyph Matrix will light up with your own custom icon.
Creating images for the Glyph Matrix might seem technical, but with this guide you can easily do it from your mobile device or PC. The most important thing is Keep the image simple, with a black background and without many details.. Do you have any questions? Leave a comment and I'll get back to you as soon as possible.
Leave a Reply